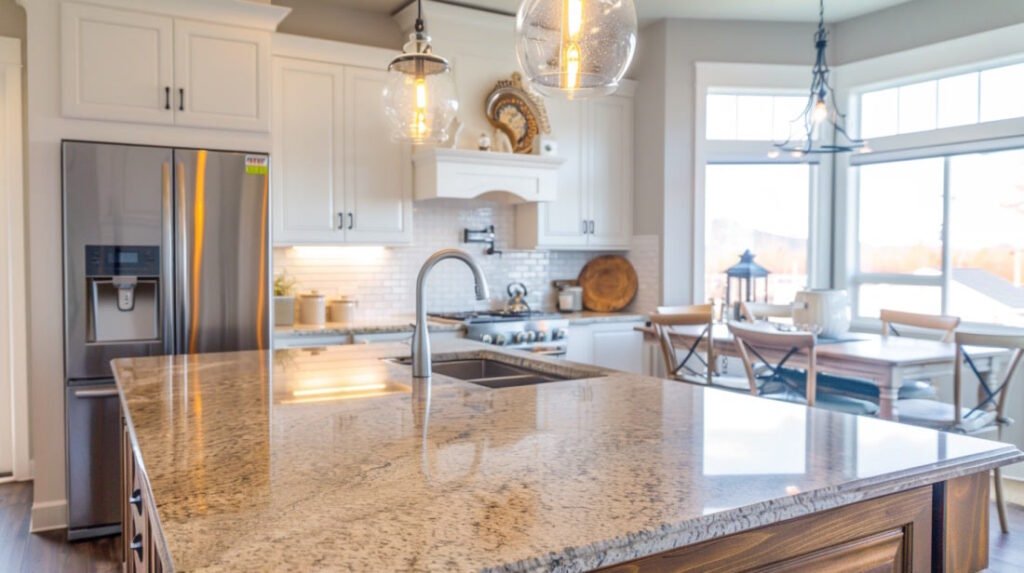
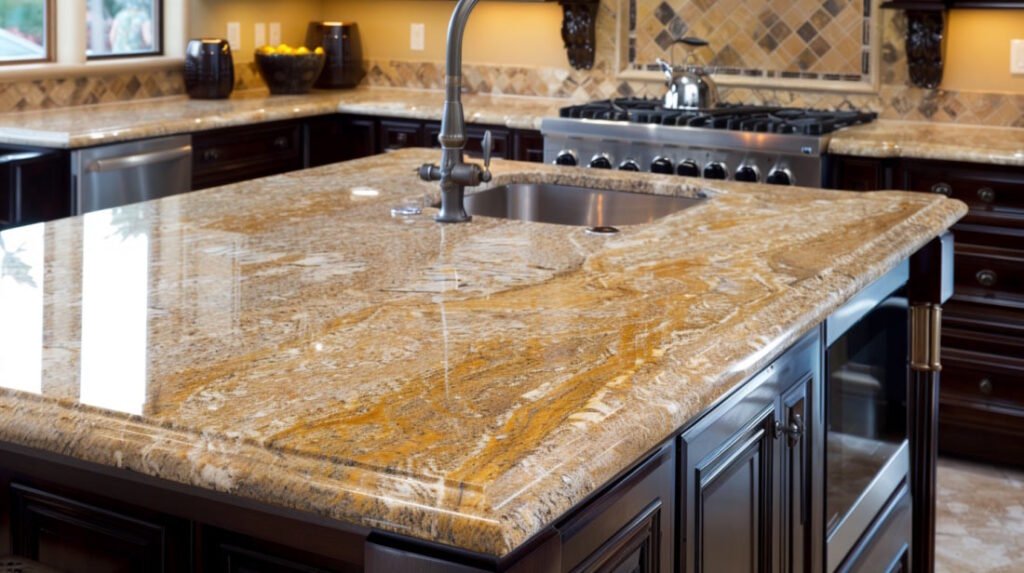
Granite, similar to other natural stones, can be costly. Here’s a guide to help you install countertops on your own, allowing you to save 20% to 30% compared to professional installation.
We all recognize granite’s high cost, but what if we told you that installing it yourself isn’t just possible, but also a smart way to cut costs while achieving your dream kitchen’s durable and luxurious look? To ensure a successful DIY granite installation, consider these crucial steps:
Materials You’ll Need
- Seam setter
- 4′ level
- Angle grinder with a diamond blade
- Caulk gun
- Acrylic caulk
- Shims
- Painter’s tape
- Measuring tape
- Two-part epoxy (for nonporous applications)
- Cardboard or a similar material for templates (optional)
- Proper protective equipment
- Utility knife
- Jab saw
- Pencil
- Granite sealer
- Granite cleaner
- Soft cloth

Even if you’re planning to install the countertops yourself, it’s vital to collaborate with a stone fabrication shop for the stone cutting and delivery. Cutting granite requires specialized tools and expertise, which a stone shop will have to ensure precise results. When it comes to delivery, granite’s main advantage can also be a drawback: its hardness makes it an ideal countertop material but also prone to cracking if mishandled. Repairing a cracked slab is challenging, so leaving transportation to the experts is a wise choice.
Why Choose Granite Countertops?
Granite countertops are often selected for kitchens due to their exceptional beauty and functional qualities. Here are some compelling reasons why granite might be the best choice for your kitchen:
- Durability: Granite is one of the hardest natural stones, making it highly resistant to everyday kitchen wear and tear. It’s scratch-resistant and can withstand hot pots or pans without damage.
- Natural Beauty: Each granite slab is unique, featuring distinct patterns, veins, and colors. Whether you prefer subtle earth tones or bold, vibrant hues, there’s a granite variety to match your aesthetic.
- Value Addition: Granite countertops are a valuable upgrade to any kitchen. They improve not only the immediate aesthetic appeal but also add resale value, making them a smart long-term investment.
- Heat Resistance: Granite’s heat-resistant properties make it suitable for kitchens. You can confidently place hot pots or pans directly on the countertop without causing burn marks or discoloration.
- Stain Resistance: When sealed properly, granite becomes highly resistant to stains and moisture penetration. This feature makes it suitable for kitchen spaces where spills happen frequently.
- Low Maintenance: Maintenance is relatively simple. Regular cleaning with mild soap and water, combined with periodic resealing, keeps the surface in top condition for years.
- Versatility: Granite can be customized with various edge profiles and finishes. From polished to honed, the finish allows you to personalize your kitchen’s overall appearance.
- Environmental Sustainability: Sourced directly from natural stone quarries, granite has a relatively low environmental impact compared to synthetically manufactured materials.
Choose Your Granite
Start by selecting the type of granite you prefer. The store will have numerous samples and slabs available, allowing you to closely examine the wide range of colors and grain patterns. You’ll also see the different edge styles available, such as square, bevel, bullnose, miter, ogee, and more. Beyond choosing the main countertop surface, you’ll need to decide on the countertop overhang length and the type and size of backsplash if you plan on adding one.
Take Measurements for Installation
After selecting the granite and removing the existing countertops, carefully measure your base cabinets to provide the fabricator with accurate dimensions. Measure from the wall to the front edges along the entire length of the wall to capture precise measurements of the cabinet tops.
Note: It’s advisable to have the fabricator inspect your kitchen to identify any factors that could influence the countertop design, such as wall protrusions or exposed pipes.

Create a Template
To provide your fabricator with even more precise measurements, create a template using cardboard, lauan plywood, or Mylar plastic. Use a scribing tool to mark the template so it fits snugly against the wall along the entire length of your cabinets. Trace the front edge onto the template and ensure the exact locations for cutouts like sinks, cooktops, faucets, and soap dispensers are accurately marked. Avoid spans exceeding 2 feet between cabinets, such as over a dishwasher, and limit unsupported overhang to a maximum of 6 inches with 2-centimeter stone or 9 inches with 3-centimeter stone.
If you’re using an undermount sink, note this on the template so the fabricator can cut a groove on the underside of the sink hole for securing sink clips. Also, ask your fabricator to reinforce narrow areas around the cutouts by “rodding” them with steel or fiberglass reinforcements. Once you’ve outlined your requirements and provided your measurements, arrange a pickup or delivery date for your finished countertops.
Pro Tip: Measurement accuracy is crucial for granite countertops. If you’re unsure about taking precise measurements, consider hiring your stone fabricator to do it for you, ensuring a perfect fit.
Level the Base Cabinets
Verify that your base cabinets are level throughout their entire length. If they aren’t, loosen the base units and level them using shims. Avoid placing shims directly beneath the granite countertop, as this can create small gaps that might cause the granite to crack under pressure.
Transport the Granite
After your countertops have been cut, it’s crucial to transport them safely. If they aren’t being delivered, you’ll need to collect them from the fabricator. Granite is incredibly heavy—a 6-foot countertop can weigh over 400 pounds—so make sure you have help for secure transport and moving.
Always carry countertops vertically rather than flat to minimize the risk of cracking or breaking. To move granite slabs, transport them on their edges using an A-frame rack, similar to how glass is carried. You can construct a simple rack from 2x4s if necessary. Protect the edges by wrapping them with wide painter’s tape. Before pickup or delivery, clear an area in your kitchen to store the countertops upright until you’re ready to install them.
Install the Granite Slabs
After getting the granite slabs home, it’s time to install them. Start by dry-fitting the countertop to ensure it aligns correctly. Be cautious when lifting the slab, particularly around the weaker areas like sink or cooktop cutouts. Lay the granite directly on the lower cabinet frames, as no additional substrate is needed for support.
If the countertop doesn’t sit flush against the wall, you can adjust the fit by either modifying the wall or the granite. For drywall, it’s easiest to mark where the countertop meets the wall and use a utility knife or jab saw to recess the drywall. If the wall is tile or brick, you’ll likely need to alter the granite. Carefully mark the contact point on the granite, remove the slab from the cabinet, and use a dry-cut diamond blade on an electric grinder to shave the granite to the desired level. Make sure to wear protective eyewear and a mask to prevent inhaling dust and debris.
After making the adjustments, reposition the slabs to verify that all edges fit snugly, including seams if you’re using multiple slabs.
Join the Seams
If you’re working with multiple slabs, this is the time to join them. With the slabs aligned and leveled on the cabinets, apply painter’s tape along both sides of the seam to minimize the mess. Use color-matched, two-part epoxy to connect the butt seams. You can find this epoxy at the fabricator shop. You’ll need a seam setter to pull the slabs together tightly; these are usually available for rent at hardware stores.
Before mixing the epoxy, familiarize yourself with how the seam setter operates. The epoxy starts setting as soon as the two components are mixed, so work efficiently. Follow the manufacturer’s instructions for mixing, then apply the epoxy thoroughly to the seam using a small putty knife.
After application, remove the painter’s tape and position the seam setter on either side of the seam, about 1.5 inches away. Tighten the screws until you feel resistance, then attach and activate the auto pump. The tension will hold the seam edges flush while the epoxy sets. The seam setter also keeps the top edges aligned. Once the epoxy has cured, remove the setter and carefully shave off any excess epoxy using a single-edge razor.
Pro Tip: When using a razor blade to clean granite or other surfaces, hold the blade as flat as possible to avoid gouging.
Attach to Cabinets
After joining the seams, secure the granite to the cabinets. Although the weight of the countertops is usually enough to keep the slabs in place, it’s still wise to apply a bead of caulk around the underside perimeter where the granite meets the cabinet top. Opt for acrylic caulk instead of silicone, as silicone can eventually seep into the stone and cause stains.
Final Steps
After completing the installation, apply a granite sealer to protect the stone and prevent deep stains. Use a clean, soft cloth to evenly wipe on the sealer, ensuring thorough coverage. Allow it to dry for 24 hours. Once sealed, you can proceed with the installation of the backsplash, sink, and appliances.
To clean and maintain your new countertops, use only granite and quartz cleaner, which is available at most fabrication shops. This cleaner leaves no residue and will keep your granite countertops looking polished and pristine for many years.
Post-Installation Care and Maintenance
Proper post-installation care and maintenance ensure that your granite countertops remain beautiful and durable for years to come. Here’s a guide to help you keep your new countertops in pristine condition:
- Initial Sealing: After installation, your granite countertops will likely need an initial sealing. Most installers will handle this, but it’s essential to confirm. Sealing protects the stone from staining and moisture penetration.
- Regular Cleaning: Use a mild dish soap or a pH-neutral cleaner specifically designed for natural stone. Avoid harsh chemicals, acidic cleaners (like vinegar or lemon juice), and abrasive scrubbers that could damage the sealant or scratch the surface.
- Daily Wipe-Downs: Wipe down the surface daily with a soft cloth or sponge. This prevents spills from turning into stubborn stains and maintains a smooth, polished look.
- Resealing: Granite countertops need to be resealed periodically, typically every 1-2 years or as recommended by your installer. A simple water drop test can help you gauge when resealing is needed: if water soaks into the stone instead of beading up, it’s time to reseal.
- Protect Against Heat: Although granite is heat-resistant, it’s advisable to use trivets or hot pads under hot pans and dishes to prevent potential thermal shock or discoloration over time.
- Prevent Scratches: Granite is scratch-resistant but not scratch-proof. Avoid cutting directly on the surface, and use cutting boards to prevent scratches and protect your knives.
- Stain Removal: For stubborn stains, use a baking soda paste or a stone-safe commercial stain remover. Apply it to the stained area, cover it with plastic wrap, and leave it for a few hours (or overnight). Rinse and repeat if needed.
- Polishing: If you prefer a high-gloss finish, polish your granite countertops occasionally with a stone polish. This will enhance their natural luster and offer a little extra protection.
- Avoid Heavy Impacts: Granite can crack or chip if struck with a heavy object, particularly near edges or corners. Be mindful of this when handling heavy pots, pans, or other kitchen items.
- Watch for Discoloration: Over time, granite may show signs of discoloration if it hasn’t been properly sealed or maintained. Address these issues promptly to prevent permanent staining.
With these tips, your granite countertops can remain an elegant, durable focal point in your kitchen for many years. Proper care and maintenance ensure that their natural beauty and resilience continue to shine.
Frequently Asked Questions
1. How long does it take to install granite countertops?
The installation process itself usually takes a few hours to a day, depending on the complexity of the layout and the size of the kitchen. However, the entire process, from measuring to cutting and polishing, could take several days or weeks.
2. Do granite countertops require sealing?
Yes, granite countertops should be sealed to protect them from staining and moisture absorption. Most installers will seal them initially, but you should reseal them periodically—every 1-2 years is typical.
3. How can I tell if my granite needs resealing?
You can conduct a simple water test. Place a few drops of water on the surface. If the water beads up, the seal is still effective. If it absorbs into the granite, it’s time for a new seal.
4. Are granite countertops prone to cracking or chipping?
While granite is very durable, it can crack or chip if subjected to a strong impact, particularly on edges or corners. Using cutting boards, trivets, and handling heavy objects with care can help prevent damage.
5. How do I clean my granite countertops?
Use a mild dish soap or a pH-neutral cleaner specifically formulated for natural stone. Avoid acidic cleaners, abrasive scrubs, or bleach as they can damage the finish and degrade the sealant.
6. Will my granite countertops look exactly like the sample?
Since granite is a natural material, variations in color and pattern occur even within the same slab. While your countertop will resemble the sample, each piece is unique.
7. Can I cut directly on granite countertops?
While granite is highly scratch-resistant, it’s not advisable to cut directly on the surface. Using a cutting board helps prevent potential scratches and preserves your knives.
8. Do granite countertops harbor bacteria?
No, granite countertops are not porous enough to harbor bacteria if properly sealed. Regular cleaning with mild soap or a granite-safe cleaner ensures a hygienic surface.
9. How much weight can granite countertops support?
Granite countertops are strong and can support substantial weight, but the cabinets below should also be sturdy to distribute the load evenly. Ensure your cabinets are reinforced if you plan to place particularly heavy items on the countertop.
10. What should I do if my granite countertop gets stained?
For common stains, use a paste made of baking soda and water or a commercial stone cleaner. Apply the paste, cover it with plastic wrap, and leave it overnight before rinsing it off. Repeat if necessary.


